


This comprehensive website photo guide serves as your step-by-step companion for best image sizing for websites.
Embarking on your own website creation journey likely revealed that it’s a meticulous process requiring attention to various essential elements, including SEO, website copy, and the intricacies of design. If you’ve opted for a Showit template, you’ve discovered an efficient and user-friendly method for DIY website development. While it utilizes a ‘drag and drop’ interface, understanding the importance of optimal image sizes for websites is crucial to ensure a seamless and visually appealing browsing experience. This comprehensive website photo guide serves as your step-by-step companion in navigating this vital process.
Why Image Size for Websites is Important
With the rapid advancements in technology and the prevalence of smartphones and other devices granting us constant access to the internet, the convenience of obtaining what we desire swiftly has become a staple of modern life. However, our reaction shifts when our internet connectivity slows down or when we encounter websites that take an eternity to load. While some individuals might possess more patience than others, many of us tend to grow frustrated or even irate, potentially leading us to abandon the website altogether. It’s crucial to remember that if you exit a slow-loading website, it’s likely that others will follow suit. As a budding entrepreneur, retaining your visitors’ engagement is paramount.
As you construct your Showit website and prepare to showcase your visually stunning photographs, ensuring that your files are appropriately sized is essential. Oversized photo or video files can significantly slow down your webpage’s loading speed, potentially leading to visitor attrition. Mitigate this issue by adhering to a set of website image size guidelines and considering the recommended video options provided below:
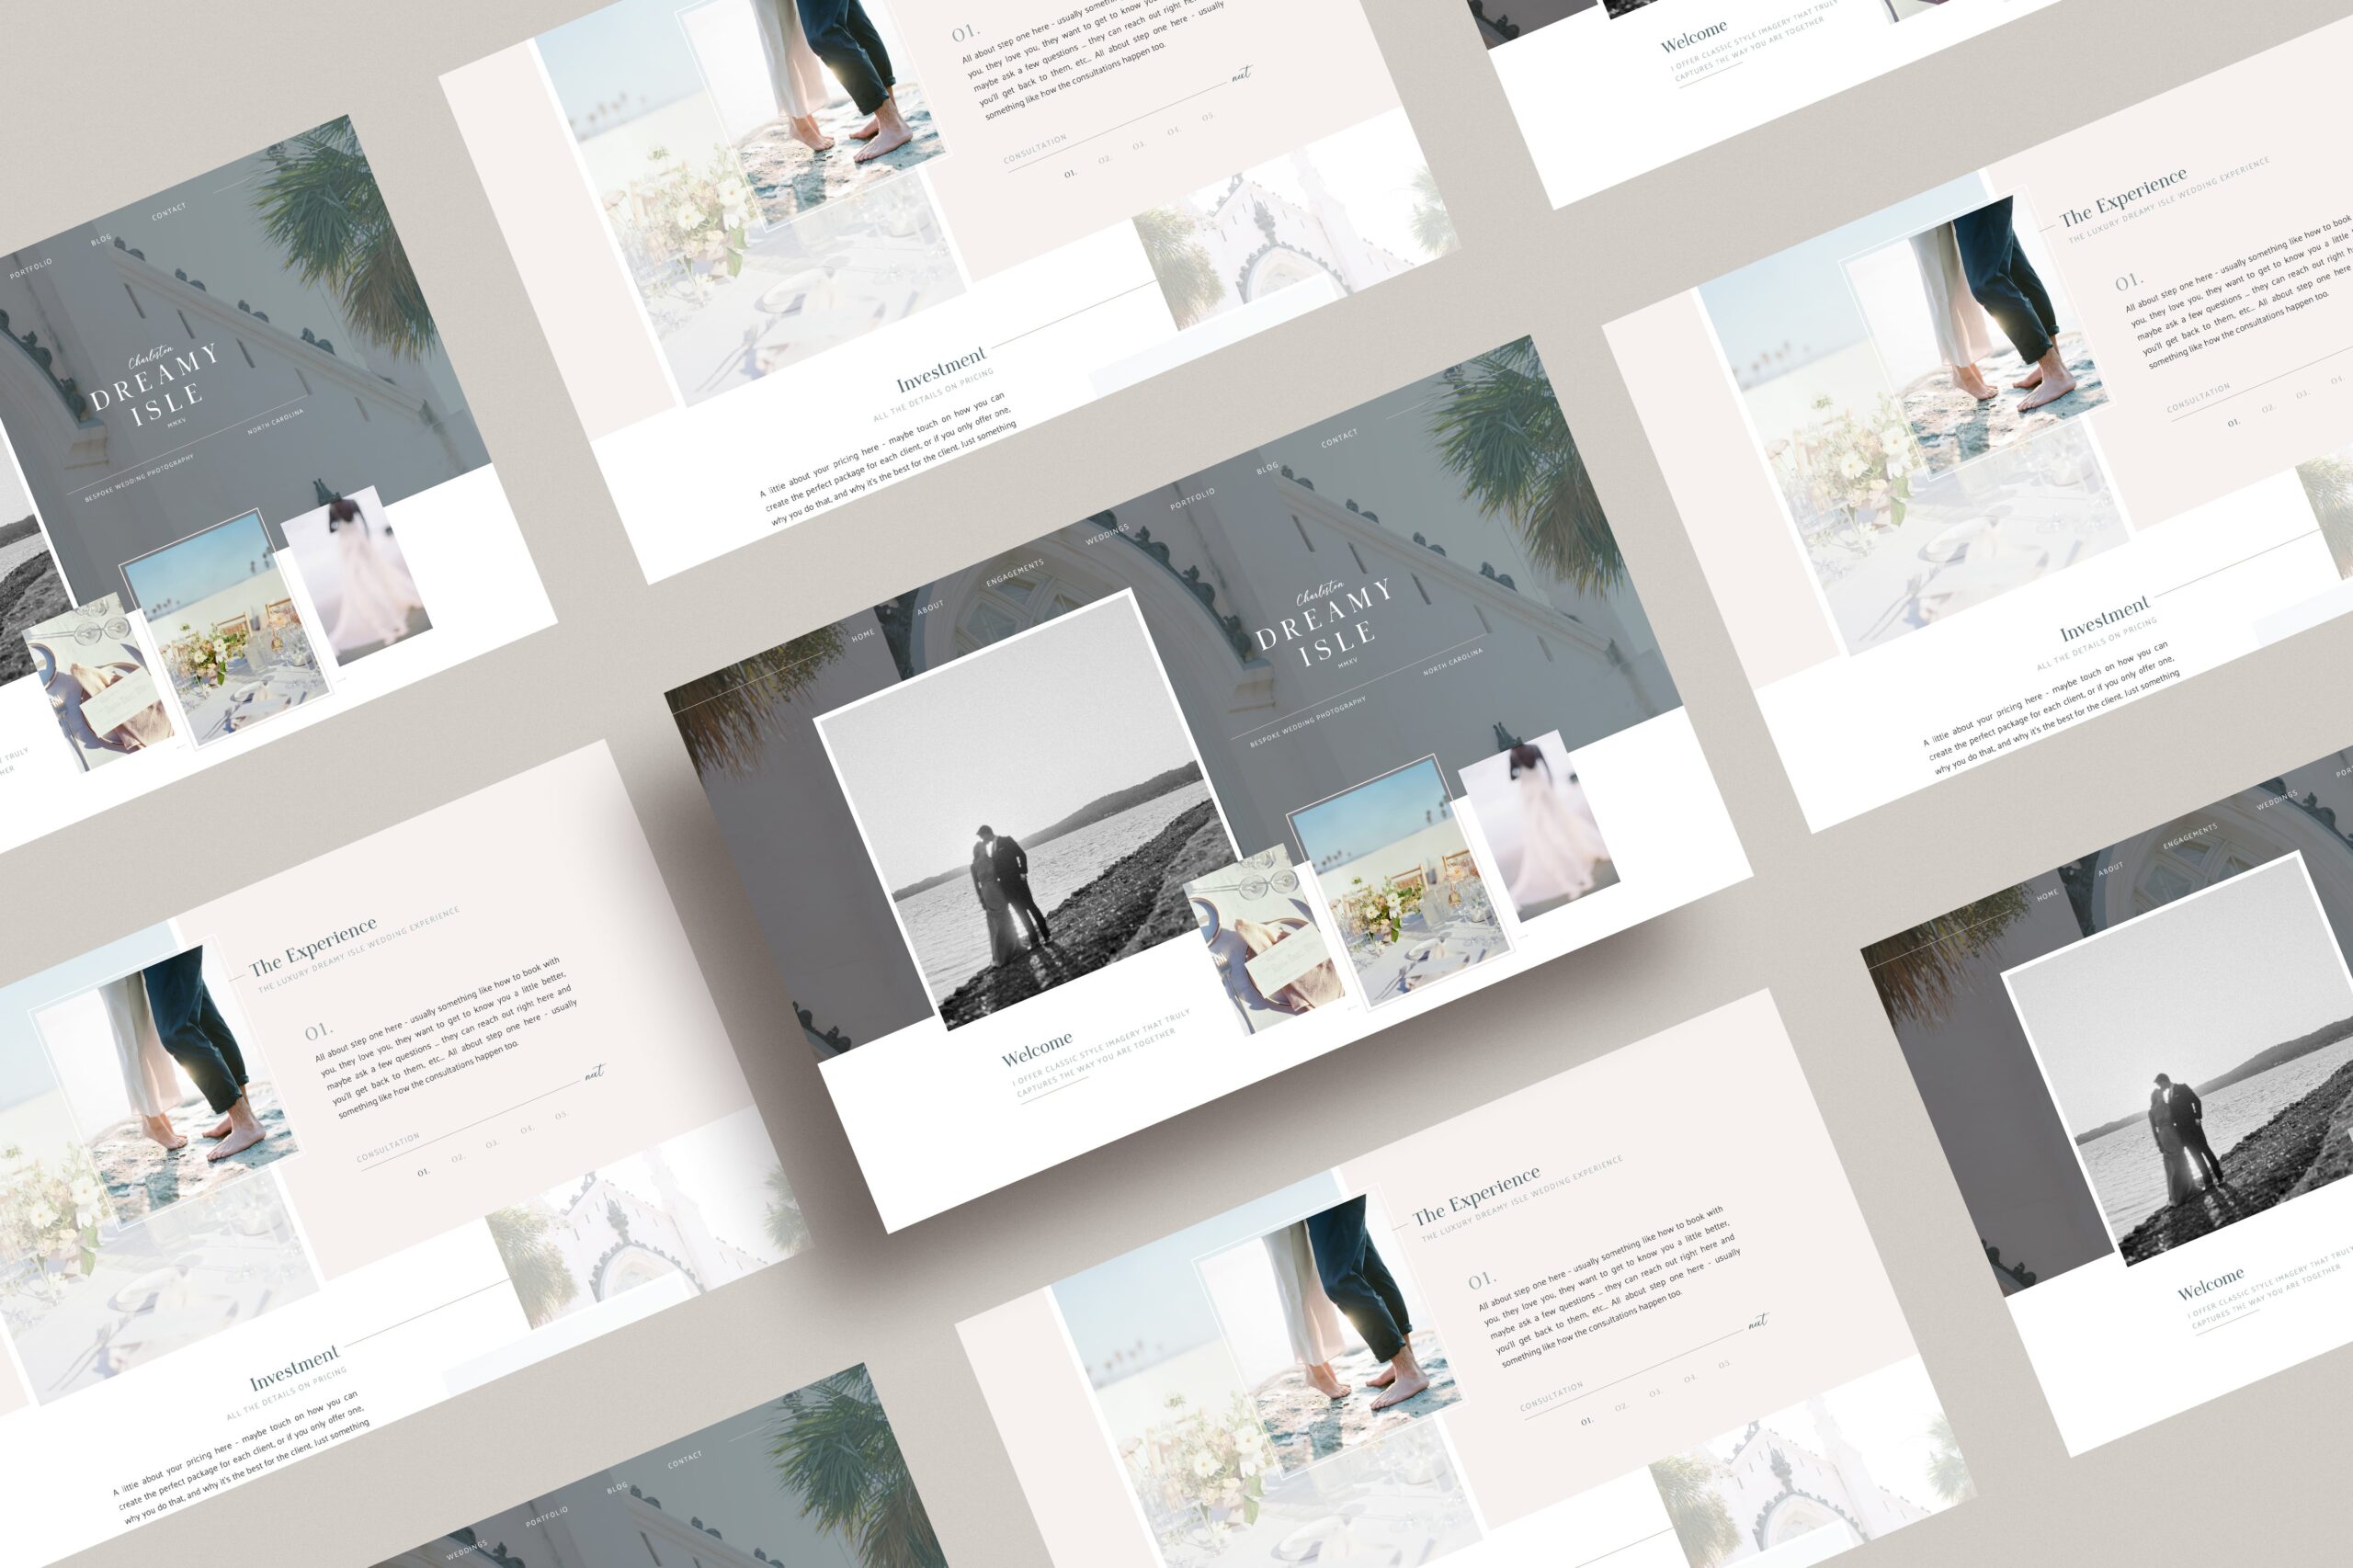
Showit Website for Professionals
Whether you’re a florist, wedding or event planner, or professional photographer, showcasing your talent is necessary to attract new clients to your business. Before adding images to your website, first, make sure you size your photos correctly.
Showit automatically optimizes your images used on pages within Showit, as opposed to Squarespace for photographers, which creates up to seven versions of your image, each with a different width.1
When you upload a photo to a premade Showit website template on your blog, you have to resize it for optimization. Showit supports JPG, PNG, and GIF formats and suggests, “resizing your original-sized images to 3500px on the long edge to make the uploading process faster.” 2
The Showit team also suggests simplifying the process by using BlogStomp—a software that eases your website image prep. The software lets you drag and drop a full-resolution image, pair it, customize it, re-order it, resize it, and save it for your blog or Facebook page.3 Which option should you choose? The choice is yours!
The Best Image Sizing for Websites
Is there an ideal image size for websites? Absolutely! As a useful rule of thumb, ensure that your uploaded image files do not exceed 300kb, as recommended by Showit for optimal website and blog performance. Achieving this involves keeping your image dimensions below 3000 px on the longest side, particularly if you plan to upload full-screen images. As an additional step, I recommend utilizing www.tinypng.com to compress, resize, and optimize your images, ensuring they meet the specified requirements.
When you’re ready to replace a default image with a personal photo, like your headshot, the first step is adding the picture to your media library. Choose your new image and then add it to the page. If you want to make adjustments, you can use the image border scaling options or drag-and-drop the image’s placement.
If you prefer manually setting an image’s size or location, you can do so under the “Size & Position” tab. You will find this tab in the right of your toolbar when selecting your image. You can also manually set your Showit photo size and location under the “Size & Position” tab in the right toolbar when selecting the image.
Placing Images within an Image Field
Showit gives users three options for how an image will react inside the image field or the area where you are inserting your image. This area also has an associated height and width. These options are:
Fill – A setting that forces your image to fill the image field in both height and width. You can crop your image if it is not the same size as the image field.
Contain – A setting that keeps an original image’s dimensions within the image field but lets you adjust the height and width of the image area without changing your original image’s dimensions.
Scale – A setting that lets you adjust your image’s focal point inside the image element container.
Take Your Business to the Next Level with a pre made template.
Adding content to your website can get tricky, especially if you’re unfamiliar with image layouts and resizing. If you get stuck or need help adding your beautiful photographs to your website, a Showit design partner can help.
Resources:
- Downs, Kylen. “Optimizing Your Images to Improve Blog Load Speed.” Showit. Accessed 07/02/2020. https://learn.showit.co/en/articles/1982410-optimizing-your-images-to-improve-blog-load-speed
- Pals, JT. “Preparing Your Images for Showit.” Accessed 07/02/2020. https://learn.showit.co/en/articles/1991409-preparing-your-images-for-showit
- “How to Size Images for the Web. Showit. Accessed 07/02/2020. https://showit.co/business/education/how-to-size-images-for-the-web/
- Willems, Jeff. “Add a Photo.” Showit. Accessed 07/02/2020. https://learn.showit.co/en/articles/762364-add-a-photo
- Downs, Kylen. “Image Size and Placement Settings.” Accessed 07/02/2020. https://learn.showit.co/en/articles/1094388-image-size-and-placement-settings
- Downs, Kylen. “Video.” Showit. Accessed 07/02/2020. https://learn.showit.co/en/articles/357765-video
- Downs, Kylen. “Add a YouTube Video.” Accessed 07/02/2020. https://learn.showit.co/en/articles/895112-add-a-youtube-video

Renowned for her artistic creativity and a budding animation enthusiast, Louise of The Autumn Rabbit is an expert at seamlessly creating immersive digital journeys for her clients.


Add A Comment
VIEW THE COMMENTS