


Add video to Showit Website
Learn all the different ways you can add video to your Showit Website, and hop on this movement in design trend!
So, you’ve got this amazing vision for your Showit website, and you want to spice it up with some fantastic videos. Well, guess what? I’m here to make that journey a whole lot easier. Let’s dive into the tech world of adding videos to your Showit website. Trust me, it’s not as headache inducing as it sounds, and there are actually a few options!
Currently, to add MP4 clips right into your Showit account you can only upload them if they are under 8mb. Plus, they can only be used as backgrounds for a canvas. So, if that’s what you’re wanting to do this is actually super easy (and you probably don’t even need this tutorial!). Just upload the video file into your media library. Then in your canvas options panel, under “canvas background” choose Media Type – video and select your video. Hot tip – It’s smart to choose an image below that as well incase the video takes too long to load for some.
But, what if you’re feeling a bit more adventurous and don’t want your video playing in the background?
If you’ve got a longer video in mind and you’re craving both the video and sound experience, I’ve got a good solution – Vimeo. Just go create a free vimeo account and add the video to that to pull into Showit. This works great because Vimeo is hosting the video for you. This way it won’t take up space in your Showit hosting and it will keep your site running smoothly!
The full steps to using Vimeo to put a video on your Showit Website
- First up – create your Vimeo account here – https://vimeo.com/
- Upload your video, and make sure all the settings are set to public
- Grab your Vimeo video ID number
- In Showit – navigate to the canvas where you want to put your video, and from the bottom element menu choose “video”
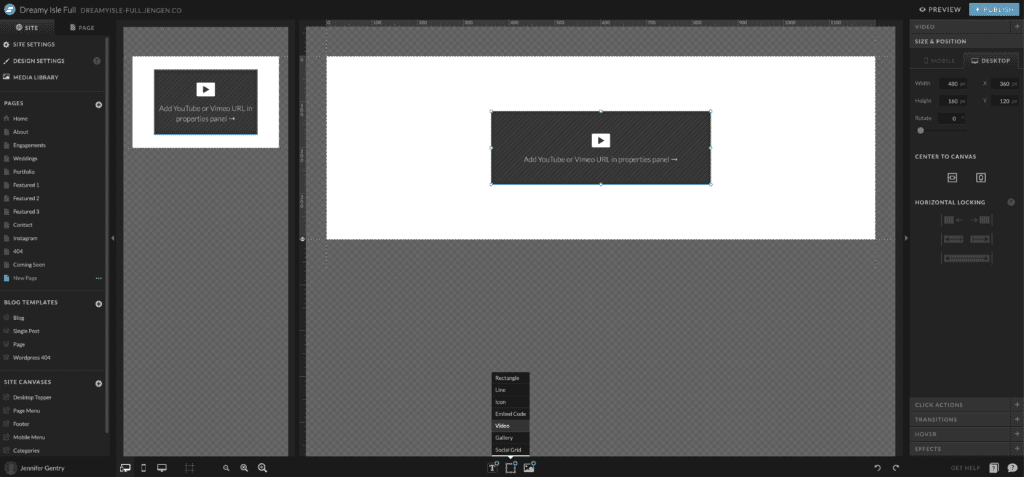
- This will add a video box to your canvas – You can resize it and place it where you want it.
- Then while you have the video box selected, in the upper right hand canvas menu you will see a tab for Video options.
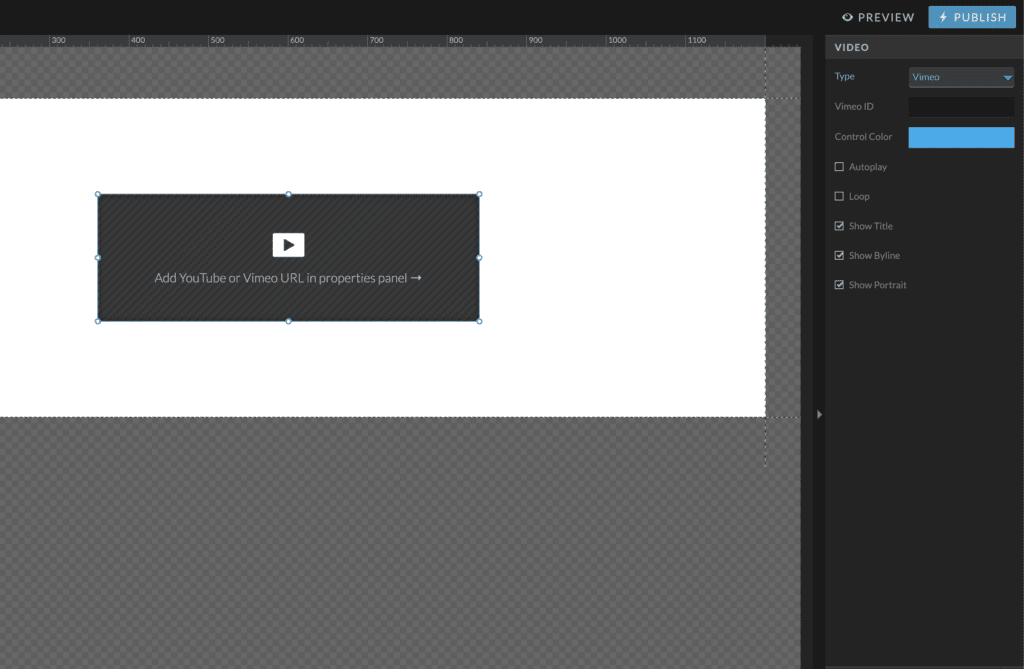
- Paste your Vimeo video ID in the space provided there, then you can edit the video options to your liking. I like changing the control colors to match your branding, and un-selecting all the options there for the cleanest look.
YOU TUBE – You can do these same steps with a YouTube video as well. Which is great if you have a YouTube channel, but if you don’t I do like Vimeo because there are more minimalist options for how it looks.
MY FAVE – The third video option
My absolute favorite – and trust me, it’s a bit of a hidden gem!
If you’re all about sprinkling small video clips into your Showit website, you’re in for a treat. You can actually use them as GIFs! Picture this: tiny, captivating animations scattered throughout your site, like the eye grabbing champagne pour you can see in action right here: https://saltyvogue.forgefoundry.co/ It’s a fantastic way to add that extra movement without causing your site to break a sweat!
Steps for getting short video clips into your Showit Website
- Download the MP4 video to your computer
- Then go to Adobe Express (free!) GIF Converter tool here – https://new.express.adobe.com/tools/convert-to-gif
- Drag your video into the container of their GIF converter, and it will work it’s magic!
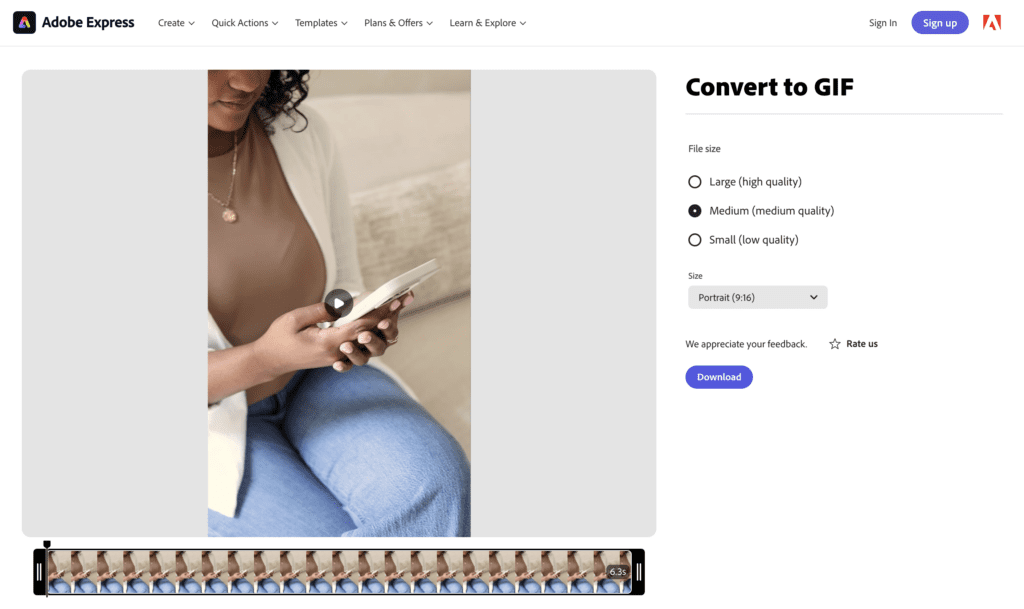
- I recommend choosing “Medium” at this spot. Large creates too large of a file, and small distorts the video too much.
- If you don’t have an adobe account you’ll have to create a free one at this step to download it. If you already have one, you can just sign in here.
- Download your new GIF … and almost there!
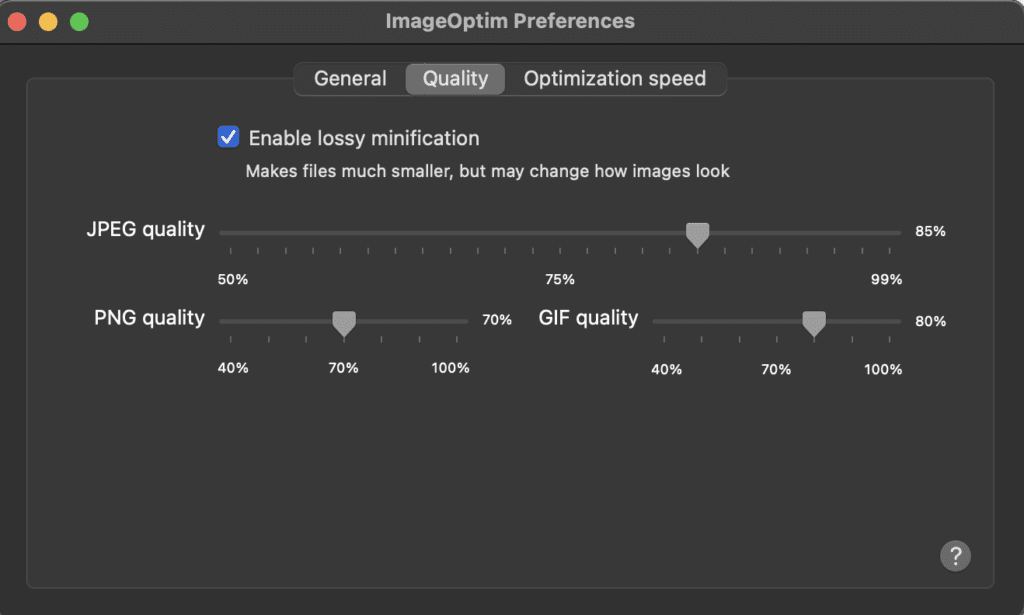
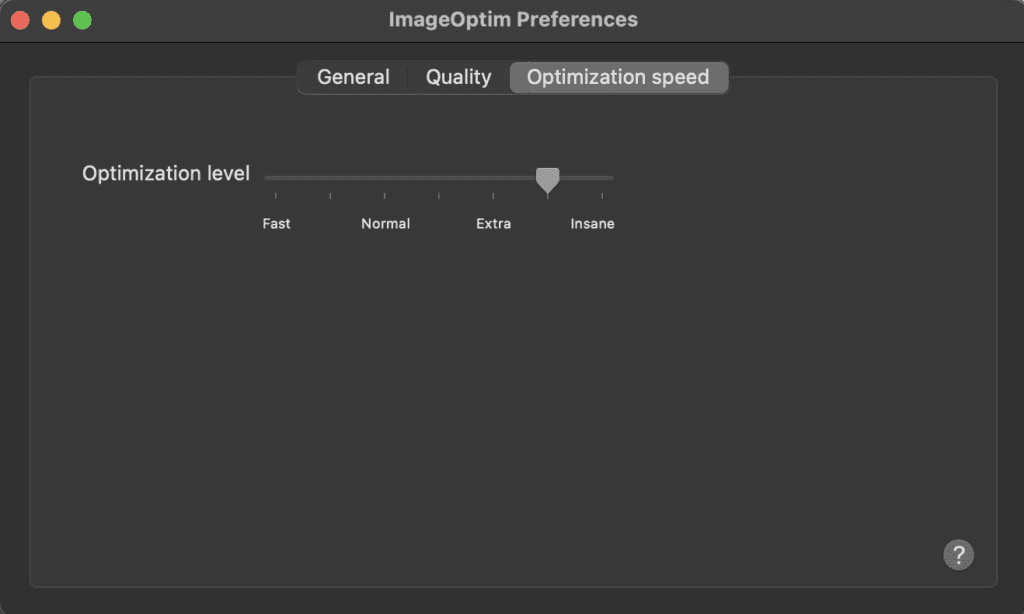
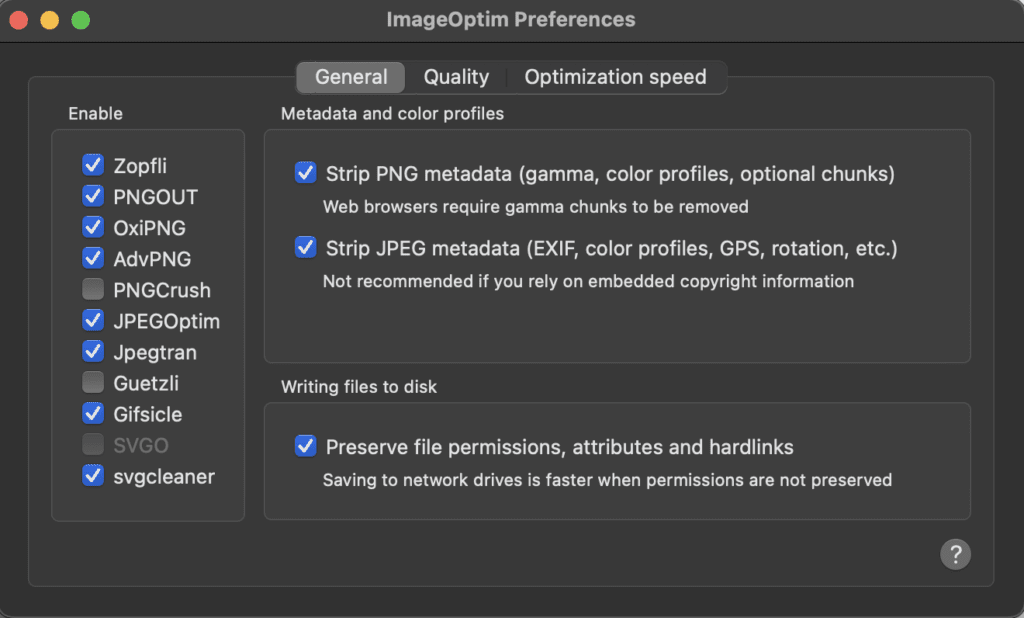
- As a last step (I actually do this will almost everything I upload into Showit) I recommend making the file smaller. I use a fabulous tool called Image Optim that sits right on my desktop. It is super easy to use, works great for video and image files alike, and best part – keeps amazing quality!! If you don’t have ImageOptim you can grab it for your Mac here – https://imageoptim.com/mac (or you can use their web version if you are on a PC). All you have to do is drag your new GIF into the application after opening it, and it will reduce the file size for you.
- BUT – BIG NOTE – this will REPLACE your file with the new reduced size, so take caution when using this tool. Only run image files + video files that are duplicates and ready for the web. Don’t accidently load your original files into ImageOptim.
- These are the settings I use that I think work well –
- Last step – upload your new GIF into your Showit Media Library. Then you can use it just like you would any other image! You can add it to any canvas, drag it, drop it, resize it, etc. You can even add hover effects, rounded edges, borders, or transitions.
See why this way is my favorite? – Fun right?!
Go forth and GIF-ify your website!
- Just don’t go too crazy, haha – they can still be large files, which will slow down your site. One here or there is the perfect little movement touch!
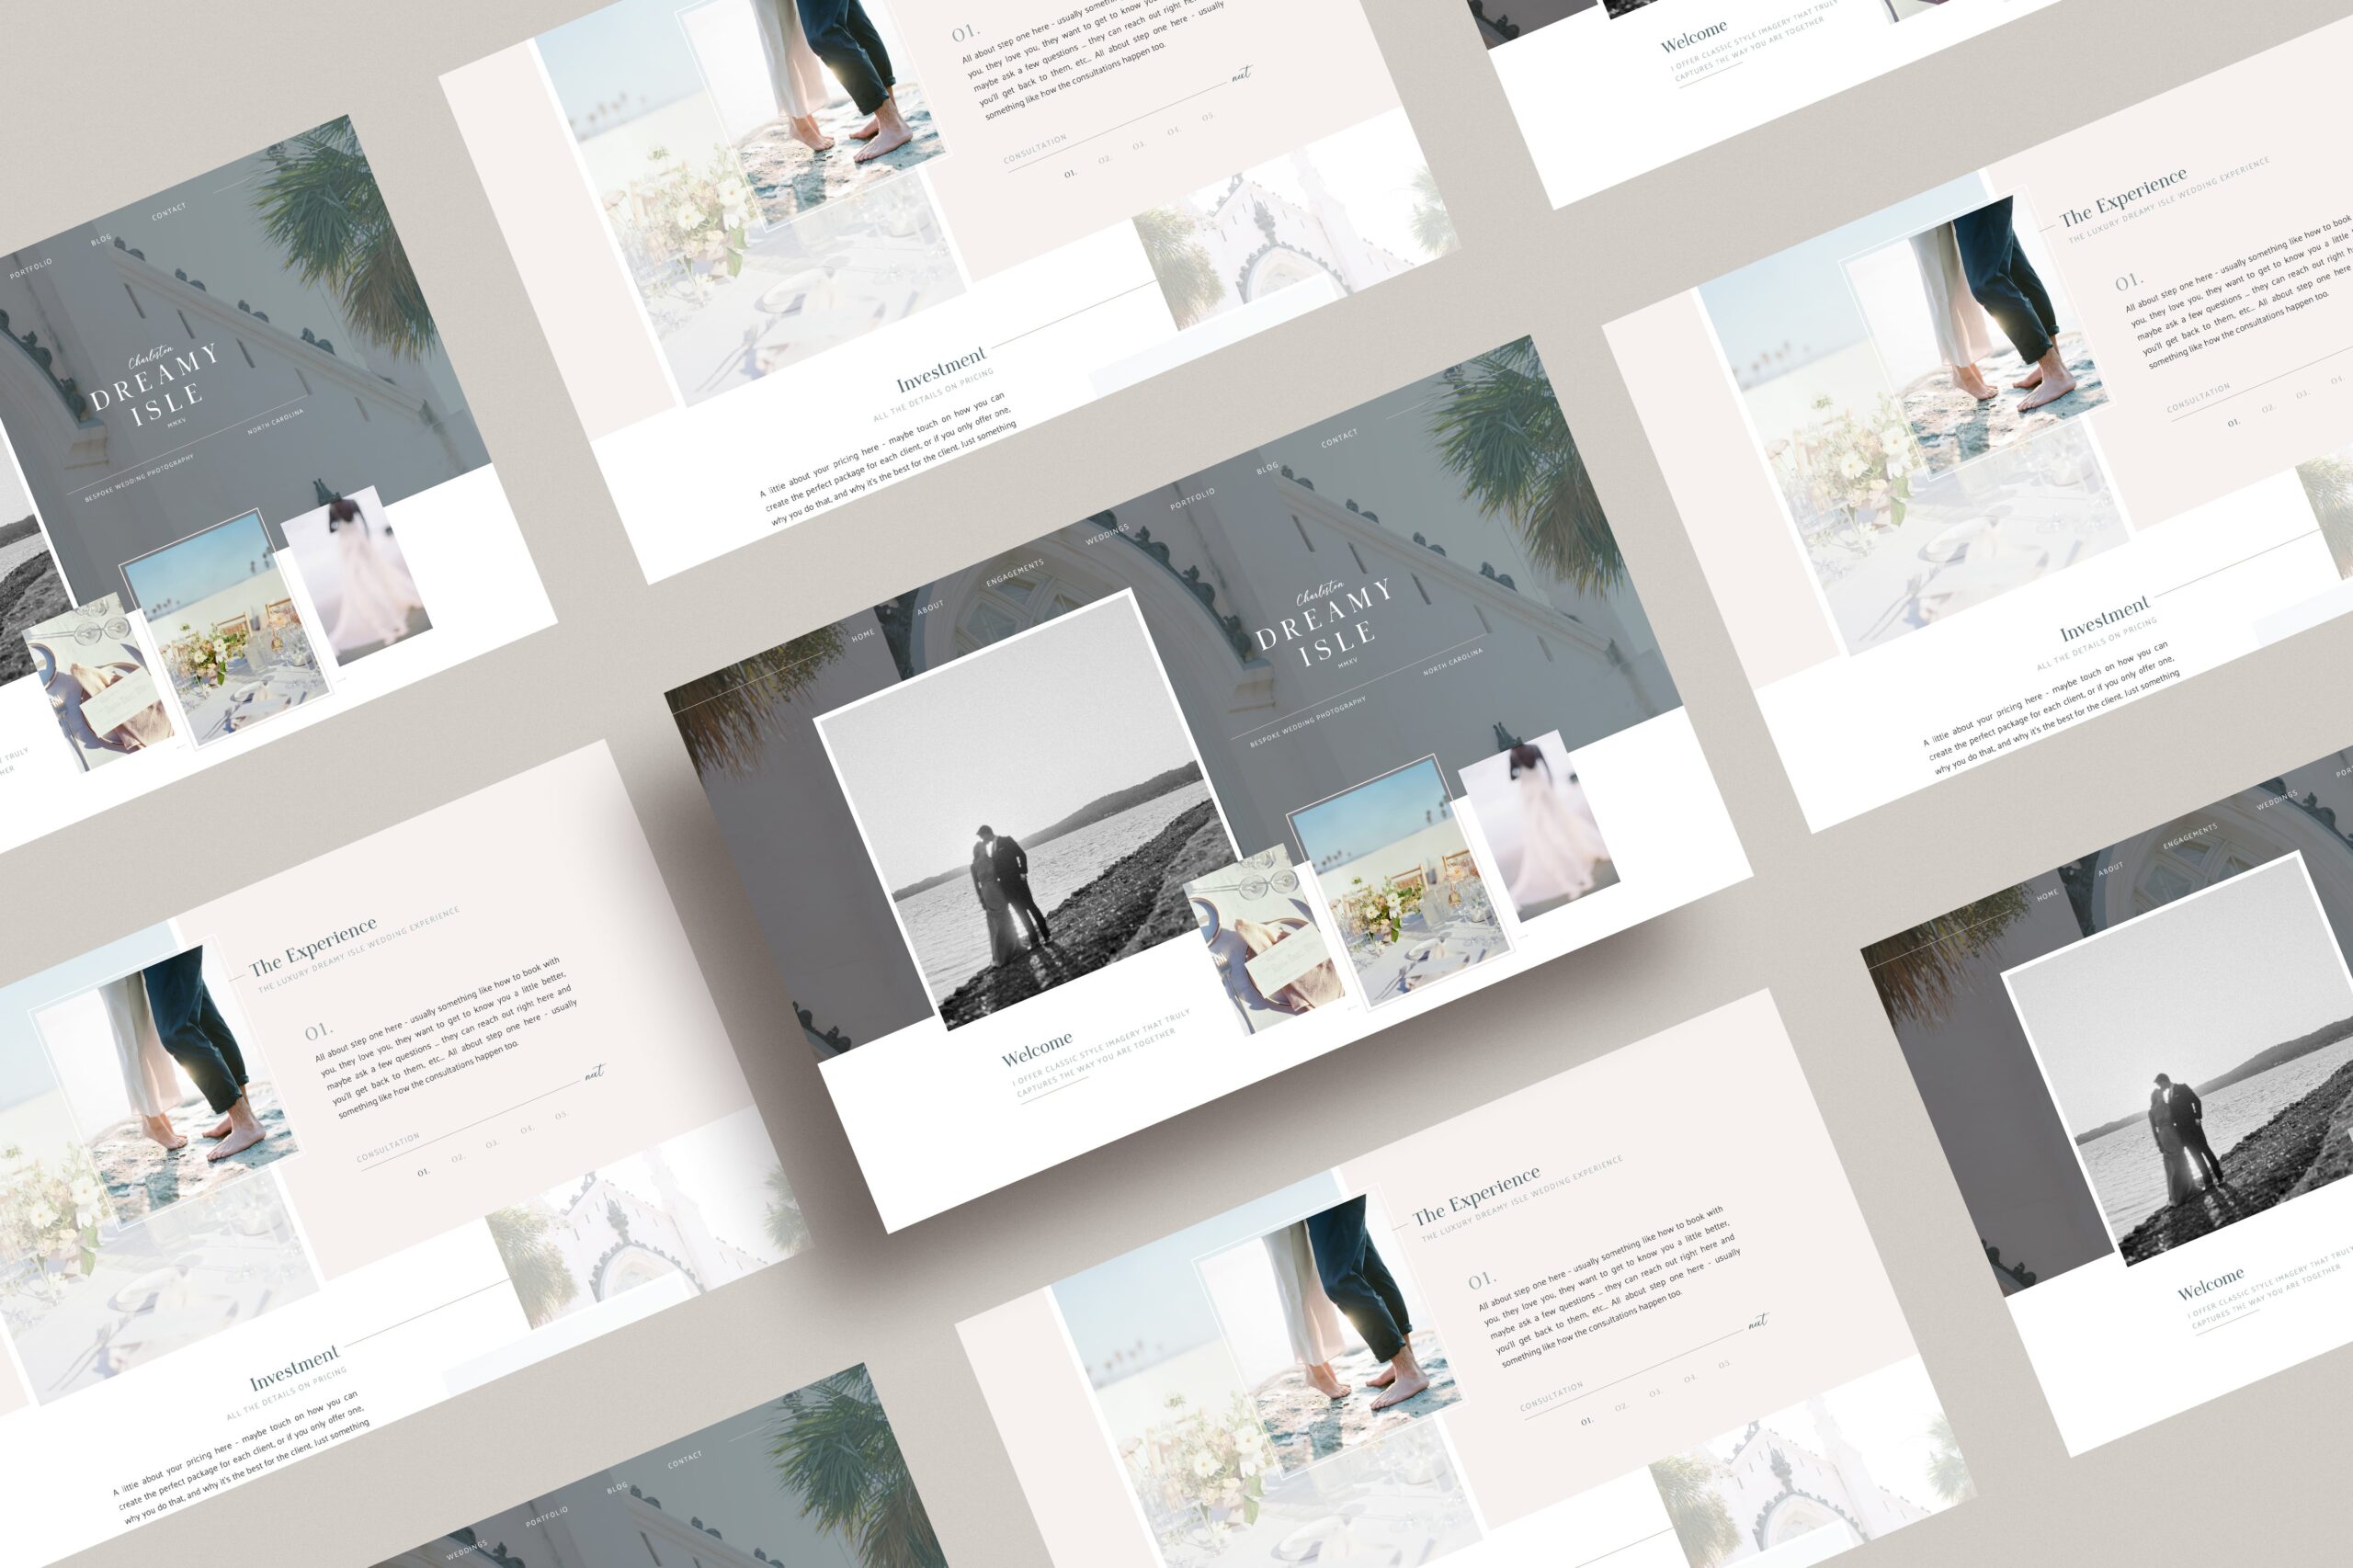
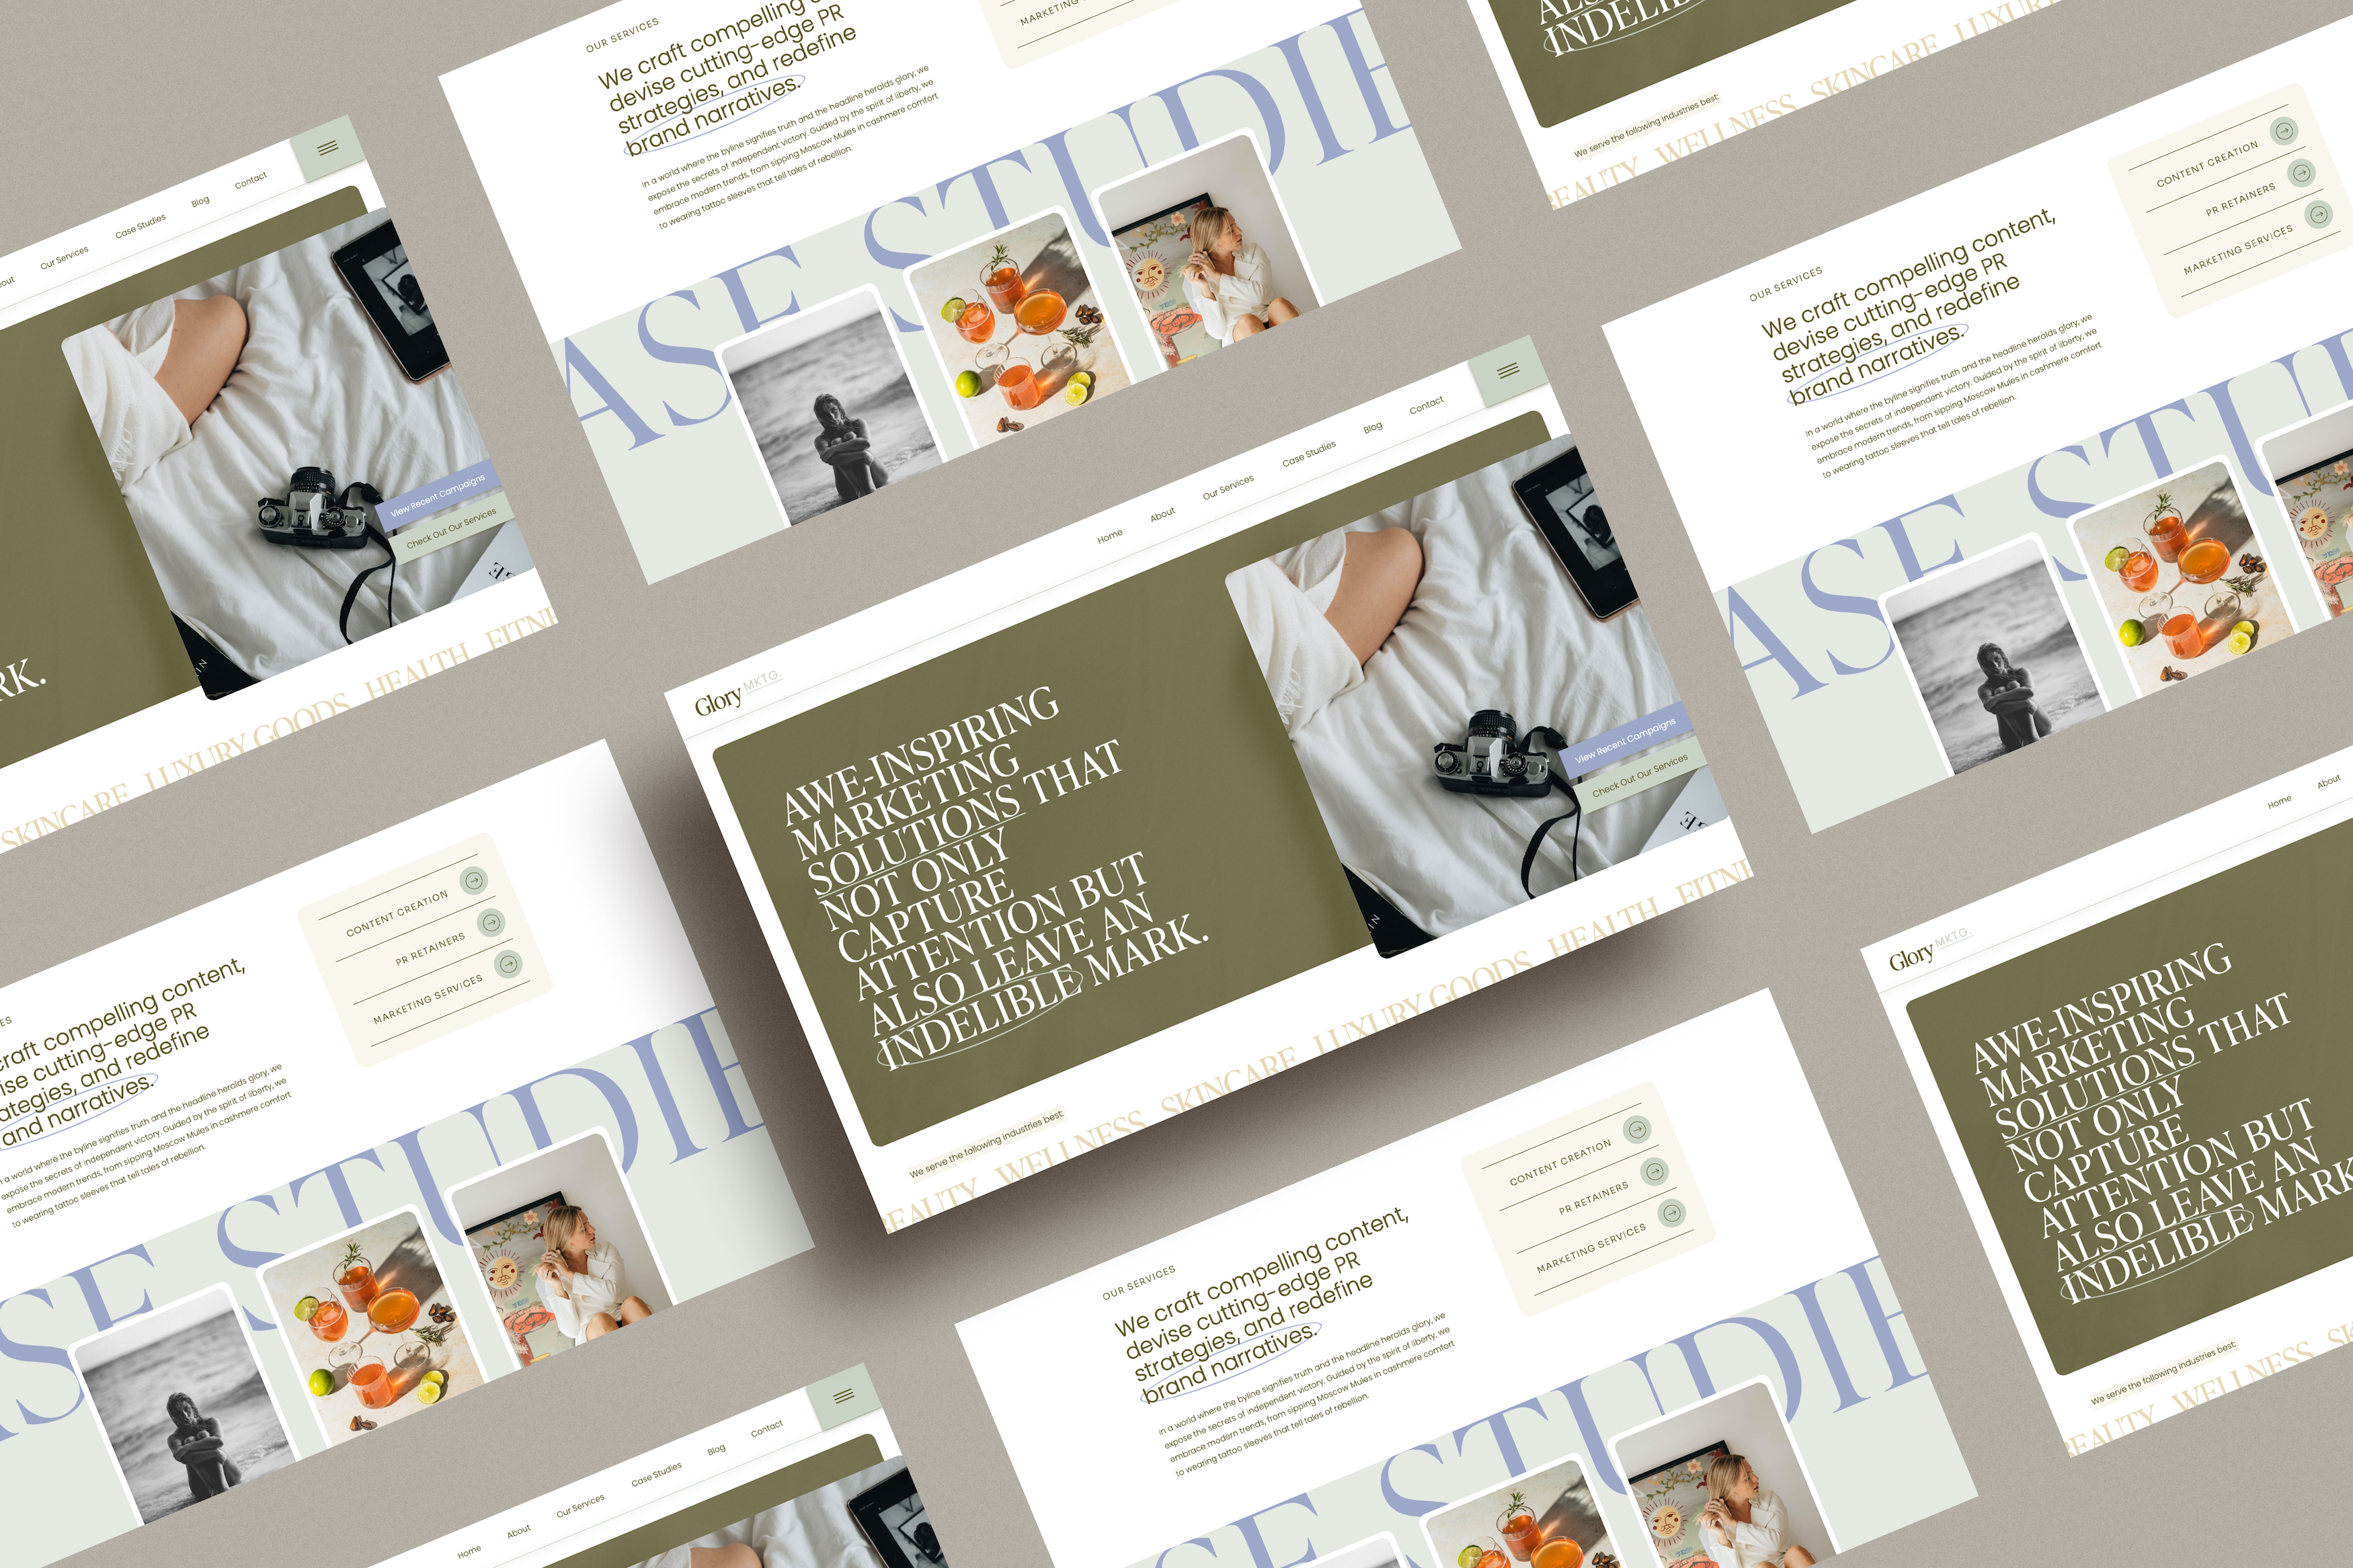
Still looking for that dream website? We offer some pretty great templates here at Forge Foundry, if I do say so myself 😉 > Check them out here! You may just fall in love with your website soulmate!
Forge Foundry
Forge your own path // templates and education for trailblazers

I’m your client-catching wingwoman!
I offer branding + website design for enthusiastic business owners, who are ready to turn their dreams into serious reality.


Add A Comment
VIEW THE COMMENTS