


Everyone loves a good shortcut, and web designers are no different. Here are the top 3 Showit website shortcuts we love!
Special paste keyboard shortcut
The special paste shortcut allows you to copy and paste styling from element to element. For example, if you want to change the font of multiple text boxes quickly, this is a great option. Other styling that will copy over with special paste are: hover settings, colors, transitions, effects, and shape styles.
1). Select an element.
2). Copy with Command-C (Control-C on PC)
3). Then select the object in the layout (desktop/mobile) you want to paste settings onto.
4). Special Paste with Shift-Command-V (Shift-Control-V on PC).
Mobile layout assistance
While we as designers love the ability to design mobile separately from desktop in Showit, it can be overwhelming for some. The mobile layout assistance tool is what you’re needing! And while its not the perfect solution, it will definitely get you started in the right direction.
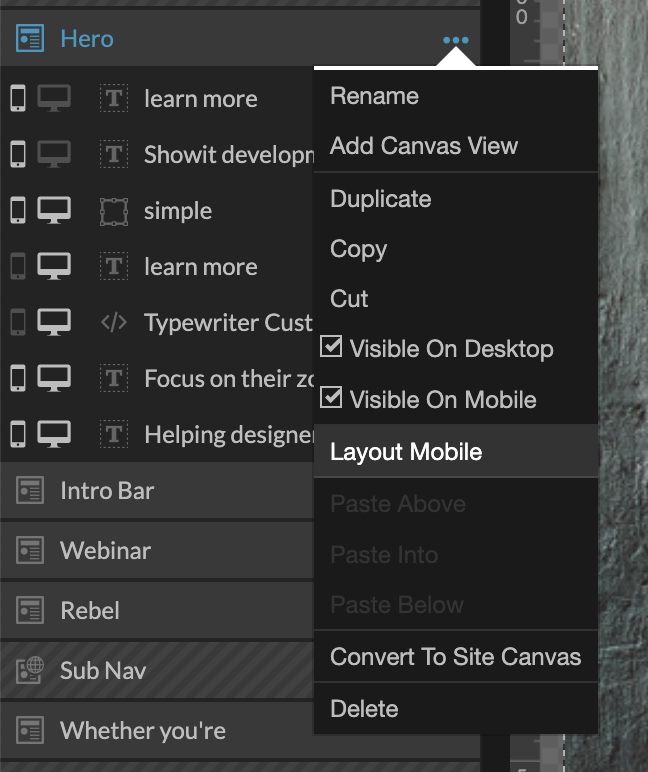
To use this tool, you’ll click on the three little dots next to the canvas you’re looking to work on and select “Layout Mobile”
You’ll then get a pop up with several options.
According to Showit’s help docs, these are the options:
Layout
1). Auto: will generate a version of your site on mobile according to the mobile dimensions and layout.
2). Scaled: will create a duplicate version of the desktop version’s layout *font sizes may need to be optimized for mobile viewing
3). Stacked: will center and resize all the elements on the canvas to display in order to allow easy manual placement of elements
4). Do Not Layout: does not adjust the layout of the mobile format (can be used when you want to copy only the design settings but not the layout)
Style & Settings
5). Copy Desktop Canvas: will copy all of the desktop canvas settings and apply them to the mobile canvas settings.
6). Copy Desktop Elements: will copy the element settings from desktop over to mobile.
You’ll want to select the best option for you – you can preview what each will look like – then continue working on your mobile optimization from there!
Site canvas sets
Site canvas sets are a relatively new feature for Showit. Instead of having to manually add each site canvas to every page on your site, this tool allows you to apply a canvas set to each page.
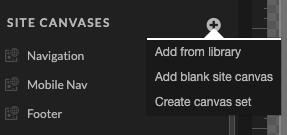
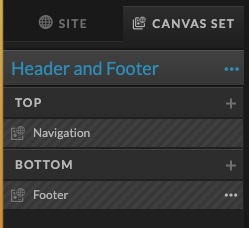
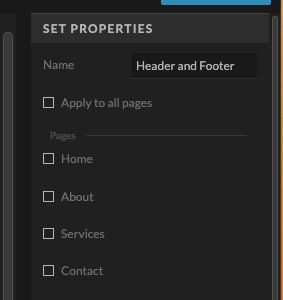
To create a Canvas Set, click on the + next to Site Canvases in the left side of the builder. Then choose to create a Canvas Set from the drop down menu. You’ll then name your canvas set in the Set Properties panel on the right side of the builder.
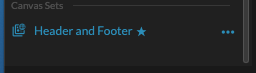
After that, you’ll see the canvas set at the bottom of the Site Canvases panel on the left side of the builder. You can now add site canvases to your canvas set, for example, maybe you want a navigation and footer Canvas Set to add to each page, so you don’t have to add those individually.
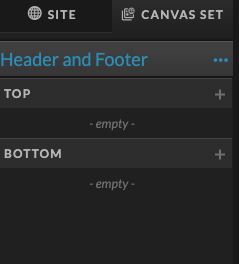
You’ll see that you have options for “top” and “bottom” – your navigation and footer are great examples of canvases you would put in top and bottom, respectively.
Once you’ve added all of the site canvases you want to your Canvas Set, you can now apply them to multiple pages at once, instead of individually! While in your Canvas Set, go to the Set Properties Panel on the right side of the builder and click each page you’d like to apply the canvas set to – or click apply to all pages if that is what you’re wanting to do.
After that, you’ll see the Canvas Set show on each page at the top and bottom of your list of canvases. You’ll want to make sure that you delete any duplicate site canvases on the pages that may be there from before. Now you’ll just need to hit publish for your changes to go live!
These three shortcuts save a TON of time while building websites in Showit and are our tried and true favorites! Let us know which one you like best!

Showit Website Templates and Unwavering Support for Every Stage of Business.
We’re dishing up website templates (and empowering education!) that spark your creativity, fire up your growth, and let you defy the ordinary, even on a budget.


Add A Comment
VIEW THE COMMENTS